This guide will explain how to upgrade to CloneDeploy 1.3.0 on Windows installations.
I. Upgrade Path
CloneDeploy upgrades are incremental. Only 1.2.x can be directly upgraded to CloneDeploy 1.3.0.
II. Notices
- The Linux Imaging Environment has changed. If you are using the client iso / usb, you must generate a new one after the upgrade.
- The WinPE Imaging Environment has changed. If using WinPE you must create a new boot image using CloneDeployPE Builder 1.2.0
- The macOS Imaging Environment has changed. If using that environment you must generate a new NBI using AutoCloneDeployNBI-1.3.3.3
III. Upgrade
This guide assumes a 64-bit version of Windows, if you are using 32-bit, update all occurrences of program files(x86) to program files
- Download the CloneDeploy-1.3.0-upgrade.zip
- Extract it to your desktop
- Stop the IIS Web Service
- Open File Explorer and navigate to C:\Program Files (x86)\clonedeploy\web
- Rename the C:\Program Files (x86)\clonedeploy\web folder to web.bak
- Copy the application, frontend and tftpboot folders from clonedeploy-1.3.0-upgrade to C:\Program Files (x86)\clonedeploy (the tftpboot folder will be merged with the existing, and the other folders will be new)
- Open web.bak\web.config with a good text editor
- On or around line 8 find the database connection string and write down the password
On or around line 40 copy the dbencryption key value - Open C:\Program Files (x86)\clonedeploy\application\web.config with a good text editor
- On line 37 change xx_marker1_xx to your database password from step 8
On line 122 change xx_marker2_xx to your encryption key from step 8 - Open a cmd prompt as administrator
-
cd "c:\Program Files (x86)\MariaDB 10.1\bin"
-
mysqldump.exe clonedeploy -u root -p > %userprofile%\Desktop\cdbackup.sql -v
- Enter your database password when prompted
-
mysql.exe clonedeploy -u root -p < %userprofile%\Desktop\clonedeploy-1.3.0-upgrade\1.3.0-update.sql -v
- Enter your database password when prompted
-
mysql.exe --user=root --password clonedeploy --execute="update images set image_environment = 'linux' where image_environment='';update images set image_environment = 'linux' where image_environment is null;"
- Enter your database password when prompted
-
icacls "C:\Program Files (x86)\clonedeploy\application" /T /C /grant IIS_IUSRS:(OI)(CI)M
-
icacls "C:\Program Files (x86)\clonedeploy\frontend" /T /C /grant IIS_IUSRS:(OI)(CI)M
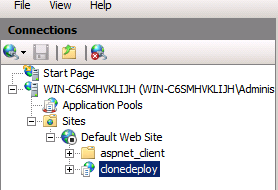
- Open IIS Manager
- Expand all dropdowns until you see clonedeploy
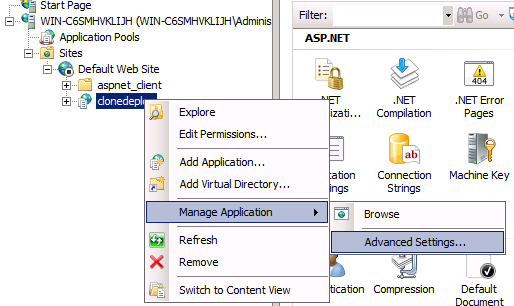
- Right click clonedeploy and select manage application then advanced settings
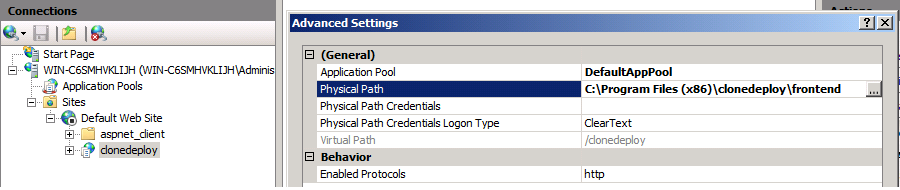
- Change physical path to C:\Program Files (x86)\clonedeploy\frontend and select ok
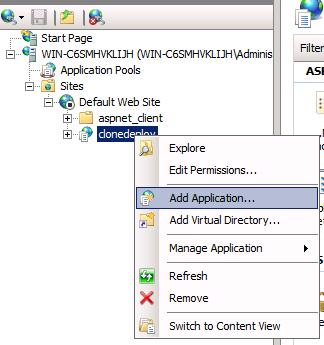
- Right click clonedeploy again. Select add application
- Type api for alias and C:\Program Files (x86)\clonedeploy\application for Physical path
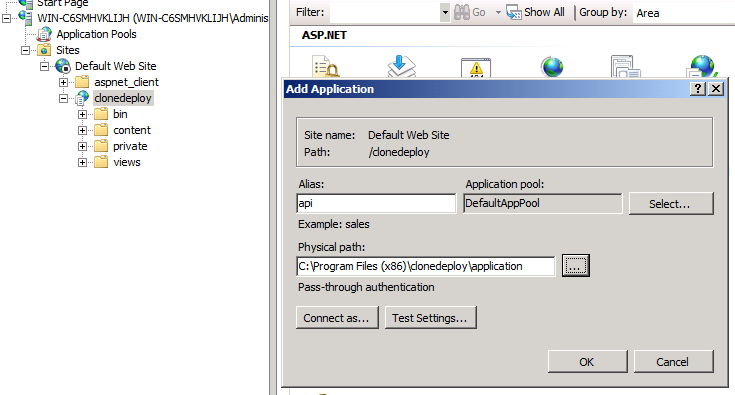
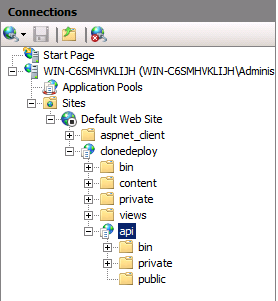
- Select Ok, Folder structure should now look like this
- Restart the IIS Service
- You may need to clear your browser’s cache to reflect the new web design
- Open the WebUI
- Select Admin
- Find the BaseURL and remove the service/client.asmx piece
- Change the Tftp Server Ip to your server ip address
- Save the settings
- Click Yes to create a new boot menu when prompted
- Click Create Boot Files
- Done